Sunday, October 25, 2015

"Dreamer" Mixed Media layout

Hi everyone, 
Aaannnddd she's back already! These past few weeks I've been able to scrap 2 layouts per week! It's got to be some kind of record for me. Though I have to admit that some layouts 'flow' more natural than others.

Recently I saw a tutorial that I wanted to sort of mimic. I already had the perfect picture in my mind and the 'vibe' I was going for. Here it is, my "Dreamer".


Another layout about my little man Connor. He's a dreamer, obviously. No matter what he's doing, he'll suddenly go into this blank stare modus. It's like he's switched on standby ;)

I started out with a sheet of paper from 7dots "Nature Walk" series. It has a light damask pattern. (Leave it to me to completely cover that up by being a little too enthusiastic with my crackle stencil.)
However I started out by adding some doilies to the surface (first determine where your picture will go) with Gel Medium.


After this had dried I stenciled a crackle pattern all over the page. I chose to do it with gesso/modeling paste but wished I had kept it a little more low-key. So I would advise you to do this in a light ink.
I stenciled some swirls in 2 opposite corners. (I'm not a pro... The gesso seeped through the stencil and kinda messed up the swirls. Which is why I sort of hid them later on, LOL.)


Once dry (hello heatgun! ) I added a square wooden frame, which I cut into 4 pieces so I could put one of the corners on the opposite side. I added another wooden shape and corner.


 Now that the basics were done it was only a matter of embellishing. I added flowers, leaves and another swirl.


When all was glued in place to my liking I gave everything, from the wooden ornaments to the leaves and flowers, a pearlescent paint coat. To add to the dreaminess of it all.

I'll leave you with some close-ups and hope that I explained it clearly. Also, make sure you learn from my mistakes ;)


I'd love it if you dropped me a line! Happy scrapping! 
Saturday, October 24, 2015

"Proud to be stout" Mixed Media layout

Hi all!

So, as promised I'm back. Didn't get a chance yesterday to finish the project I was working on, but I finished it just now. The basic ingredients are some stencils: a 6 by 6 brick one and a Tim Holtz one with the alfabet (which I forgot to include in the picture). I also used construction tape, the magic mesh like stuff. And next to some spray inks and inks, I used a structure paint in cement look.


The layout is called "proud to be stout."
You'll probably understand the first part, but 'stout' is the Dutch word for 'naughty'. Which my little boy clearly radiates on this picture. .. (But he can be a little angel as well, don't worry...)


I used the structure paint through the brick stencil. (Alas it seeped through the cracks so I had to fix that up somewhat.) I also painted the big and small chipboard hearts with the structure paint. Once dry I inked them a little because they were a little too bland for me.


As usual I'm a star in covering up all my efforts of stenciling, but here's still a bit of the border I did with the construction tape. You can use gesso or modeling paste, whatever you like. I did the text with modeling paste.
After these parts dried I coloured them with spray inks. I decided to try and paint them on with a brush instead of spraying, because I find the result of spraying always lacking depth of colour somehow.


Then I put the hearts and picture in place and added the blue ribbon on the top left and bottom right. I added a felt swirl and some flowers, leaves, a feather and some other embellishments. 
After I had taken the picture already, I added some crackle medium to the crown on my son's head. I love crackled everything these days ;)

So, I hope you'll enjoy my layout and if you have any more questions, feel free to ask them. 
I would love it you left me a comment!

Happy scrapping! 

Thursday, October 22, 2015

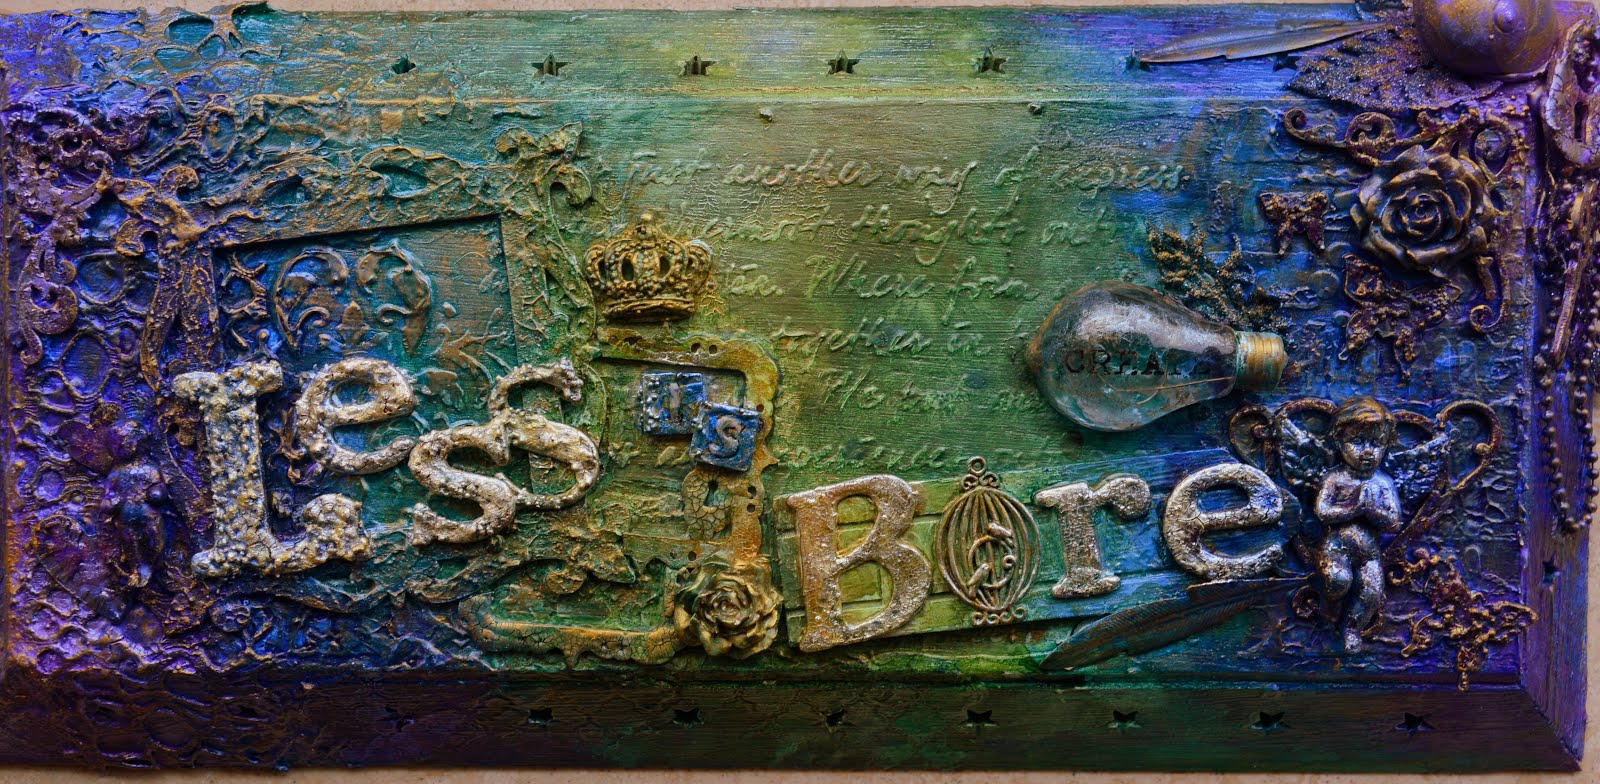
Less is bore... encore

Hey all!

Reviewing my 'vintage' blog entries, I am discerning a pattern... Somewhere around August I recover my scrap mojo and go crazy... 😛
Needing to feed my recent scrap hunger, I joined a few scrapbooking groups on Facebook. Also I've already become a huge Pinterest addict. (However I admit to having wasted precious time by pinning instead of scrapping.)

A few weeks back there was a creative fair in a town nearby. Though it was small I bought some nice new papers and discovered the brand 'Scrapberry's'. New papers and new pictures seem to do the trick in inspiring me.

I'll do my best to update my blog from now on. And if anyone would like to know how I've done something, just ask. I'm working on another layout right now and with a little luck that'll be finished tomorrow. I solemnly promise to blog about it! (Logging in with another account than my google account proved to be so problematic I almost gave up... again...)

For now I'm  signing off. If you're not living in Europe you still have the day ahead of you. Over here in the Netherlands it's evening, and since my little boy is a crappy sleeper I'm not going to bed very late.

Happy scrapping!

Wednesday, October 21, 2015

"Never drive faster than your guardian angel can fly" & "The need 4 speed."

 Hey everybody,

Had some extra time on my hands because both my husband and I have a week off.
During our holiday in England we visited Hastings, and in its town centre there was a beautiful, vintage Merry-go-round. Connor picked the motorcycle to ride on, ofcourse. His face showed us all we needed to know: he was thoroughly enjoying himself, feeling like he was riding on a real motorcycle.

The Scrapberry's paperline 'Vintage circus' was the embodiment of the paper I dreamt up in my head!!!
However, once I was scrapping, I had a very difficult time because the paper was already so busy. And I just didn't know what to add.
I like the first layout I did better than the one after. But I wasn't in the mood to invest in them in anymore so I didn't give it all. A shame about the pictures but my mojo was lost...


I sprayed a chipboard hearts-square background blue and cut it in a few pieces.
I wrote the quote on a journaling note, inked and colored some of the fussy cut buts from the papers and gave them a coat of crackle glaze.
All I could think of to do with the background was stamp a few black diamond shaped bits.


I chose to add golden accents to the next page. The background was a bit easier to work on, but still didn't speak to me the way it should have.  


I fussy cut some borders from the other papers on the series and gave a chipboard swirl border a golden crackle paint coat. Instead of the word 'for' I used a '4' and attached it to a gear I altered first. 
The merry go round horse was from a children's hobby project which was decaying anyway. Gave it a coat of crackle medium for authenticity. 


Can't think of anything more to tell you about these layouts, but if you have questions don't be shy. I was glad they were done in the end hahaha.

Happy scrapping!

Tuesday, October 13, 2015

Terrible Two's / Ik ben twee en ik zeg 'nee'!

Hey all,

Since I'm sort of catching up on my blogging by posting the layouts I haven't posted yet, I can't really show you any progress pictures. I'll do my best to describe what I have done though.


I must say I am particularly proud of this layout. It came together like magic and everything makes sense. Which doesn't happen to me often.

Despite reality proving otherwise, I still have the romantic illusion I'm able to take cute pictures of my little man Connor. On this particular fall day Connor wasn't in the mood to pose. At all. He sighed and lifted his arms up to the sky and... gave me a big, fat pout. But what a CUTE big, fat pout it was! ♡

His reluctance can be traced back to his age. Connor is 2 years old. Yes. The 'terrible two's.' In the Netherlands we say "Ik ben twee en ik zeg nee." Which means 'I'm two and I say no.' (It's cuter when it rhymes, trust me.)

Anyway, that was gonna be my title and theme!
I cut out a big number '2' from currogated cardboard and wrapped some iron wire around it to give it some 'edge'.
As usual my efforts to do a stencil on the background were in vain... ;) I put a bit of curled iron wire over those sections and they ended up so full of embellishments that the background vanished.
I added anything and everything fall themed: Leaves (fabric, iron, paper), mushrooms, flowers and other embellishments.
All over the big cardboard '2' I added more 2's. Also from different materials.


The chipboard '&' and word 'nee' were covered in copper Tim holtz crackle paint.

Sorry for the short explanation, if you still see anything you would like to know more of, feel free to ask!

In the meantime, happy scrapping!

Come visit my facebookpage too:
Or find me on Instagram: ladyguinevere77

Saturday, October 10, 2015

You are my True North

Hi everyone! 

Back to show you another layout I've done. Sadly no pictures of the steps I took, but in this case I didn't do that much anyway.

"You are my True North" 

Had another adorable picture of Connor, watching the boats in Rye Harbour. During his first vacation. In England. 
I chose this quote because obviously, Connor is the true home to my heart. I'll always be guided towards him, no matter what.

The paper felt perfect for what I had in mind, and I didn't want to cover up the starry sky. I just brushed a little gesso along the edges and at the bottom section of the paper so the background to my embellishments would be a little lighter.
Stapled the fishing net to the paper, after I changed its color a bit.
Made a circle with some rope, to partially go around the picture of Connor. 


And then it was just embellishing with anything maritime I could find ;)


Comments and questions are always very welcome!
Look me up on Facebook too:
Or follow me on Instagram: 

HAPPY SCRAPPING! 

Sunday, October 4, 2015

Lekker zacht / Nice 'n soft

Hi all,
Wanted to show you another layout I did. 
"Lekker zacht"
It means nice and soft. 
Connor loves all things nice, soft and fluffy. His stuffed animals, pillows, my clothing. He wants to caress and cuddle all those things. 
This layout was a quickie in my book. The background paper is 7 Dots 'Cold Country'. It was so beautifully distressed already I only distressed the edges a bit more.
I chose to use stars because Connor was still in his peejays in the pictures. Blended modeling paste with Dylusion spray to achieve the blue color you see below. Stenciled the stars with that mixture and added some chipboard and wood stars.
Added a velvet heart shape I severed by cutting out the middle section, thus using both parts on the left and right.
Some lettering, a little embellishment here and there and done! 


Comments and questions are always welcome! 
You can find me on facebook too.

And Instagram:

HAPPY SCRAPPING! 

Saturday, October 3, 2015

Boy

Hey all,

I've got another layout to show you. 
"Boy"


Took a picture of Connor with my phone the other day, which wasn't that good technically. But I loved his smile and the cap and vest he was wearing, so I tweaked the picture a bit with some app I had discovered the other day.  Gave it a vintage look and decided that's the direction the layout had to go as well.
I apologise but I have no pictures of the process once again.
The paper is from a paperstack of a local store that sells everything and anything for less. Loved the filmstrip on it and wanted to emphasise that by uding some real, old, blank negatives. 
Started out by applying copper inka gold through a gears stencil.
Added some real gears which I worked a little with the same Inka Gold. Connected the gears with some thick, black thread.
Layered the picture on topmof the old negatives and some strips of ruler-paper.
Added a few wooden words which I altered with Inka Gold in a copper and blue shade.
Some cork envelope embellishments, metal word plaque, etc. 


Hope you like it! Questions and comments are always welcome.

Come find me on Facebook too:

And Instagram:

HAPPY SCRAPPING!